April 25, 2026 • Maria Russo • 9 min reading time • Prices verified June 24, 2026
How to Calculate Zone Capacity from Your PSI and Service Line Size Before You Buy a Single Valve
Picture this: you’ve mapped your yard into zones, picked a controller, and you’re ready to start ordering valves and heads — then someone asks, “What’s your service line size?” and you go blank. That one gap can derail a whole design. Every residential irrigation system runs on two physical realities: water pressure (measured in PSI, or pounds per square inch — the force pushing water through the pipe) and flow rate (measured in GPM, or gallons per minute — how much water your supply can actually deliver at once). Your service line size — the diameter of the pipe running from the meter to your house — sets the ceiling on that flow rate. Together, PSI and GPM determine exactly how many sprinkler heads or drip emitters you can run per zone without starving some heads and flooding others. Get these numbers wrong before you buy, and you’ll either under-serve half your lawn or trigger the pressure-drop death spiral that turns a $1,400 system into a muddy disappointment. This article walks you through finding those numbers, doing the math, and translating the result into a zone-by-zone design — before a single valve ships.
Step 1 — Measure Static PSI and Available Flow at the Meter
Most homeowners guess at their pressure. Don’t. Municipal supply pressure varies by neighborhood, elevation, time of day, and seasonal demand — the Rain Bird Landscape Irrigation Design Manual notes that residential static pressure typically ranges from 40 to 80 PSI, but that range is wide enough to invalidate any assumption.
How to measure static PSI: Attach a simple dial pressure gauge (available at most hardware retailers for under $15) to an outdoor hose bib — ideally the one closest to the meter, with all other fixtures off. That reading is your static pressure: the baseline when nothing is running.
How to measure dynamic pressure: Now run a zone or open a downstream fixture and re-read the gauge. That’s dynamic (working) pressure — the pressure that actually exists when water is moving. The difference between static and dynamic is your system’s pressure loss under load. A drop of more than 15–20 PSI between static and dynamic readings at the hose bib is a warning sign of undersized supply piping or a partially closed meter valve.
How to measure flow rate (GPM): Use the bucket method — time how long it takes to fill a 5-gallon bucket at the hose bib with the valve fully open. Divide 5 by the fill time in minutes. A 45-second fill = 5 ÷ 0.75 = 6.67 GPM. This is your point-of-connection flow — the raw supply capacity before any distribution losses.
Per Utah State University Extension’s residential irrigation design publication HG-522, you should never design a zone to consume more than 75% of your measured available flow. That buffer preserves pressure for house demand running simultaneously and protects against meter-side fluctuations.
Your design flow ceiling = Measured GPM × 0.75
If your bucket test yields 8 GPM, your design ceiling is 6 GPM per zone — not 8.
Step 2 — Understand What Service Line Size Actually Limits
Even if municipal pressure is healthy, your service line diameter creates a hard physical ceiling on flow. Water moving through a pipe creates friction — the narrower the pipe, the more friction per foot, and the more pressure bleeds away before water reaches a head.
The Irrigation Association’s Landscape Irrigation Scheduling and Water Management reference tables show these approximate maximum practical flow rates for standard residential service lines:
| Service Line Size | Max Practical Flow (GPM) |
|---|---|
| ¾ inch | 10–12 GPM |
| 1 inch | 16–20 GPM |
| 1¼ inch | 25–30 GPM |
| 1½ inch | 35–40 GPM |
By the numbers: A ¾-inch service line at 65 PSI static, measured at 9 GPM bucket test, yields a design ceiling of 6.75 GPM. That single constraint dictates your maximum zone size more than almost anything else downstream.
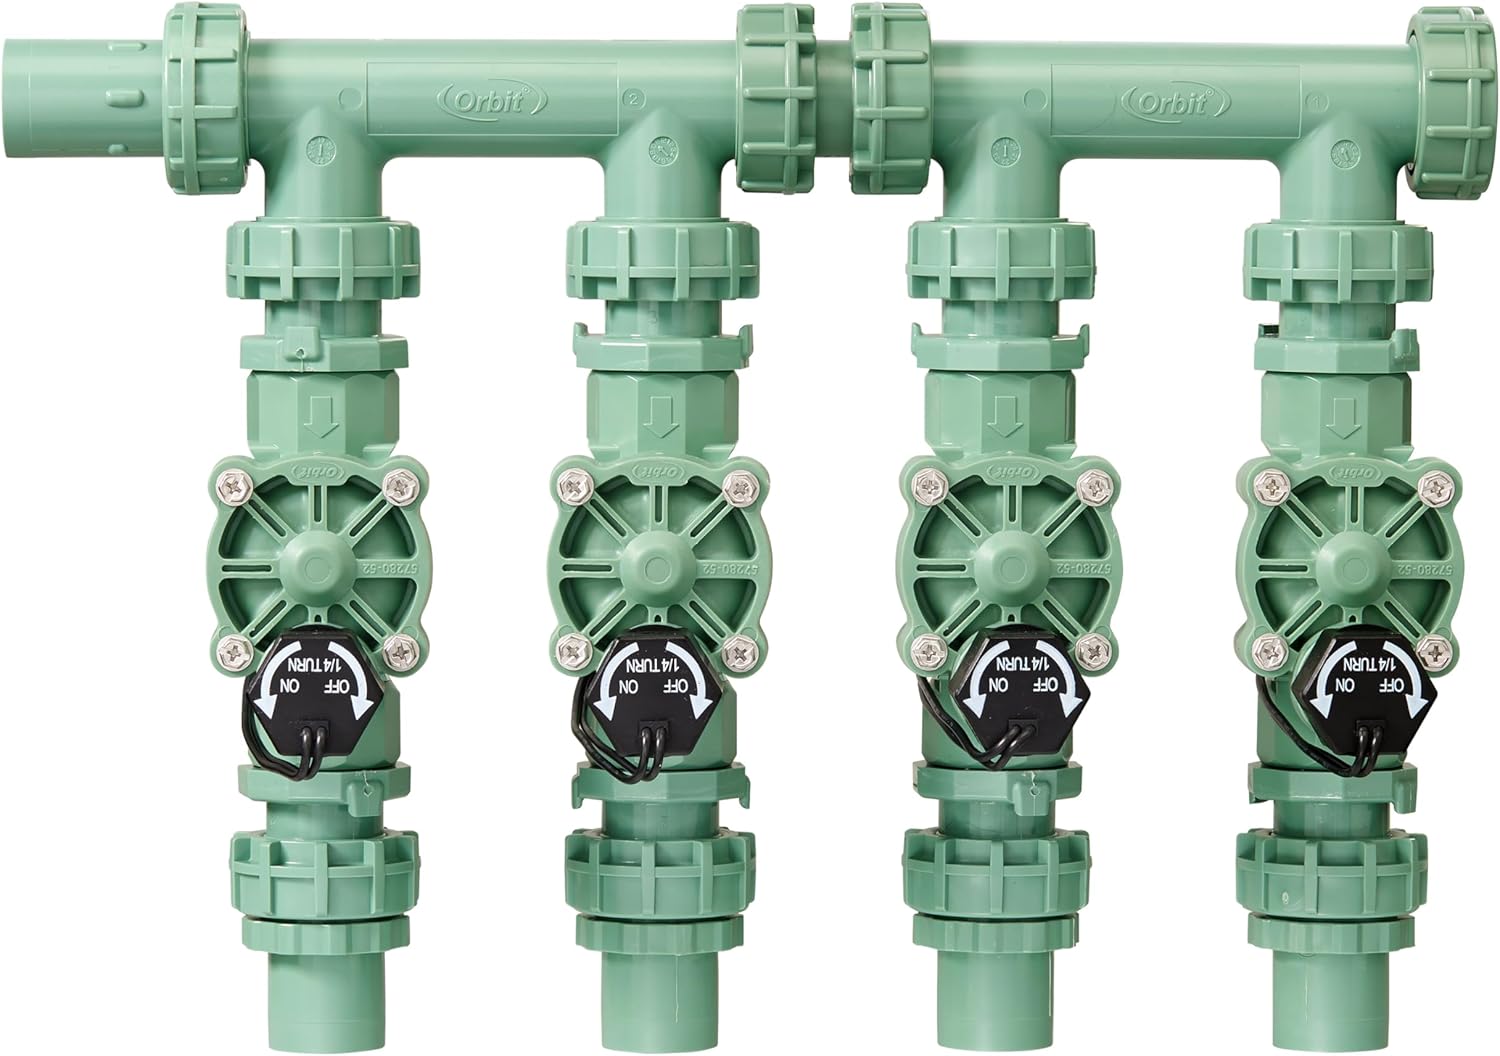
Most suburban homes built before 1990 have ¾-inch service lines. Many newer builds spec 1-inch. If you’re planning a whole-yard system with more than four or five zones, confirm your service line size before specifying valve manifolds — a ¾-inch line feeding a 6-zone Hunter HC controller running overlapping zones in sequence is fine; trying to parallelize anything or run very large rotor zones will require upsizing.
To find your service line size: check your local water utility’s records (many publish connection data online), look at the pipe where it enters the house, or call your utility directly. The Landscaping Network’s Sprinkler System Design Guide recommends confirming with the utility rather than measuring at the wall, since buried service sections can vary from what’s visible inside.
Step 3 — Calculate Head GPM Demand by Head Type
With your design flow ceiling in hand, you need to know how much flow each head type draws. Manufacturers publish precipitation rates and GPM specs in their data sheets. Here’s how the common categories stack up in practice:
Rotor heads (Hunter PGP, Rain Bird 5000 series): typically 0.5–1.5 GPM per head depending on arc and radius setting. At a half-circle arc, a Hunter PGP Ultra spec sheet rates approximately 1.0 GPM at 45 PSI at a 35-foot radius.
Fixed spray heads (Rain Bird 1800, Hunter Pro-Spray): higher precipitation rate, lower radius. A standard 10-foot spray nozzle runs roughly 0.5–0.8 GPM. Critically, spray heads require 20–30 PSI at the head; rotors typically need 30–45 PSI. Mixing types on the same zone is a common beginner error that guarantees mismatched precipitation rates — the Irrigation Association’s design guidelines flag matched precipitation rate (MPR) as a non-negotiable zone design rule.
MP Rotator heads (Hunter MP Rotator series): the middle path — rotor-style slow application at spray-head radius. These run roughly 0.2–0.5 GPM per head and can often pack more heads per zone within your GPM ceiling, making them a strong fit for ¾-inch service line constraints.
Drip emitters: rated individually at 0.5, 1, or 2 GPM per emitter (or per section for pressure-compensating drip line like Netafim Techline). A 100-foot run of Netafim 0.5 GPH PC drip line with emitters at 12-inch spacing runs about 0.83 GPM total — very forgiving on zone capacity.
Step 4 — Build Your Zone Budget and Validate It
Now you’re doing actual design math. For each proposed zone:
- List every head or emitter on that zone
- Sum their GPM demand at the operating pressure you’ll deliver
- Compare that sum to your design flow ceiling
Example: You have 8 Hunter PGP rotors on a back lawn zone, each drawing 1.0 GPM at 40 PSI. Zone demand = 8.0 GPM. Your design ceiling is 6.75 GPM. This zone is over-budgeted by 1.25 GPM. Either drop to 6 heads, switch to MP Rotators (cutting per-head GPM roughly in half), or accept that this zone will underperform — every head will see lower-than-rated pressure, reducing radius and creating dry patches at the perimeter.
Pressure at the head is the second variable. Working pressure at the meter minus friction losses through the main line, lateral lines, and valve equals operating pressure at the head. Rain Bird’s Irrigation Design Manual provides friction loss tables for common pipe sizes and flow rates; the general rule is to target no more than 5 PSI of friction loss per 100 feet of lateral pipe at design flow. For most residential systems with runs under 150 feet, ¾-inch lateral pipe at 6–8 GPM stays within that tolerance. Longer runs or higher flows warrant 1-inch laterals.
Per the EPA WaterSense Water-Efficient Landscape Guide (2023 edition), systems operating heads at more than 10% above manufacturer-specified pressure generate significant overspray and misting — wasted water and uneven coverage. A pressure regulator at the valve or inline before spray zones isn’t optional on high-pressure systems; it’s what converts a 75-PSI municipal supply into the 30 PSI a spray head actually wants.
Step 5 — Translate the Math into a Zone Count and Controller Spec
Once you know your per-zone GPM demand and your total available flow, you can project how many zones your property needs and whether your planned controller tier makes sense.
Zone count estimate: Total system GPM demand (all zones, all heads) ÷ Design ceiling GPM per zone = minimum zone count. A front and back yard with 24 rotor heads at 1.0 GPM each = 24 GPM total demand. At a 6 GPM design ceiling per zone = minimum 4 zones. Add a drip zone for beds = 5 zones minimum.
Controller selection checkpoint: A Rachio 3 8-zone ($279 street price as of mid-2026) handles that 5-zone system with room to expand. A RainBird ST8I-WIFI ($180–$250) covers the same footprint at a lower entry point. Neither decision makes sense until you’ve confirmed zone count from the math above — buying a 16-zone controller for a system that needs 5 zones is waste; buying an 8-zone unit for a property that needs 11 zones forces an expensive mid-project upgrade.
If zone count comes back at 9–12, Hunter Hydrawise HC controllers ($199–$399 depending on zone module configuration) become the logical comparison: the HC-1200 handles 12 zones, and the Hydrawise platform’s flow meter integration lets you validate zone GPM against your design calculations in real time — a meaningful advantage for practitioners who want to verify the math after install, not just before.
The Decision Rule
Here’s the framework, stated plainly:
- If your measured design flow ceiling is under 6 GPM: Plan exclusively for MP Rotators or drip. Fixed spray heads and standard rotors will strain your zones. Consider a booster pump evaluation if the property demands rotor coverage.
- If your design ceiling is 6–10 GPM and your service line is ¾ inch: You can run 5–8 standard rotor heads per zone comfortably. Plan for 4–6 zones on a typical suburban lot. An 8-zone controller is the right starting spec.
- If your design ceiling is 10–16 GPM with a 1-inch service line: You have meaningful design flexibility. Rotor zones of 8–12 heads are achievable. Consider a 12-zone controller minimum if the property is over 5,000 square feet of irrigated area.
- If you can’t measure PSI and GPM before your contractor arrives: Do not approve a materials list. Every component specification downstream of the meter depends on these two numbers. The Landscaping Network and Utah State University Extension both frame this as the irreducible first step in any professional irrigation design — and it’s the one most often skipped in residential projects that later need redesigns.
The math here isn’t complicated. It’s just the math that almost no one does before they hit “add to cart.” Do it first, and every component decision that follows gets dramatically easier.